Tag Archives: silkscreen printing

Posterizing a license plate (a fundraiser for Nicaragua Family Support Fund)

One day during our year working in Nicaragua, Claire found an old license plate in a ditch in Managua. It was from 1979, the year the Nicaraguan people overthrew the dictator Somoza, so she set it aside. Fabricated in the blue and white of the country’s flag, it had rusted over the course of six or seven years – a visual metaphor of the betrayal of the revolution by the corrupt, brutal Ortega-Murillo regime.

1979 License plate.

I thought this might make an interesting silkscreen print that would be suitable for a fundraising campaign. Initially I sent funds to the group <Dale una mano a tu Hermano> (“Give a hand to your brother/sister”) which was assisting Nicas in exile in vulnerable situations in Costa Rica. 60% of sales will now go to the Nicaragua Family Support Fund which provides financial support for Nicaraguan political prisoners and their families. Their web page is here.

The order form for these prints is here for anyone who would like one. (FYI there are only 44 in the edition!)

[Please note that my primary market for this print is for people in Canada, the US and Europe, because I want funds to go from outside Nicaragua & Costa Rica, not from inside.]

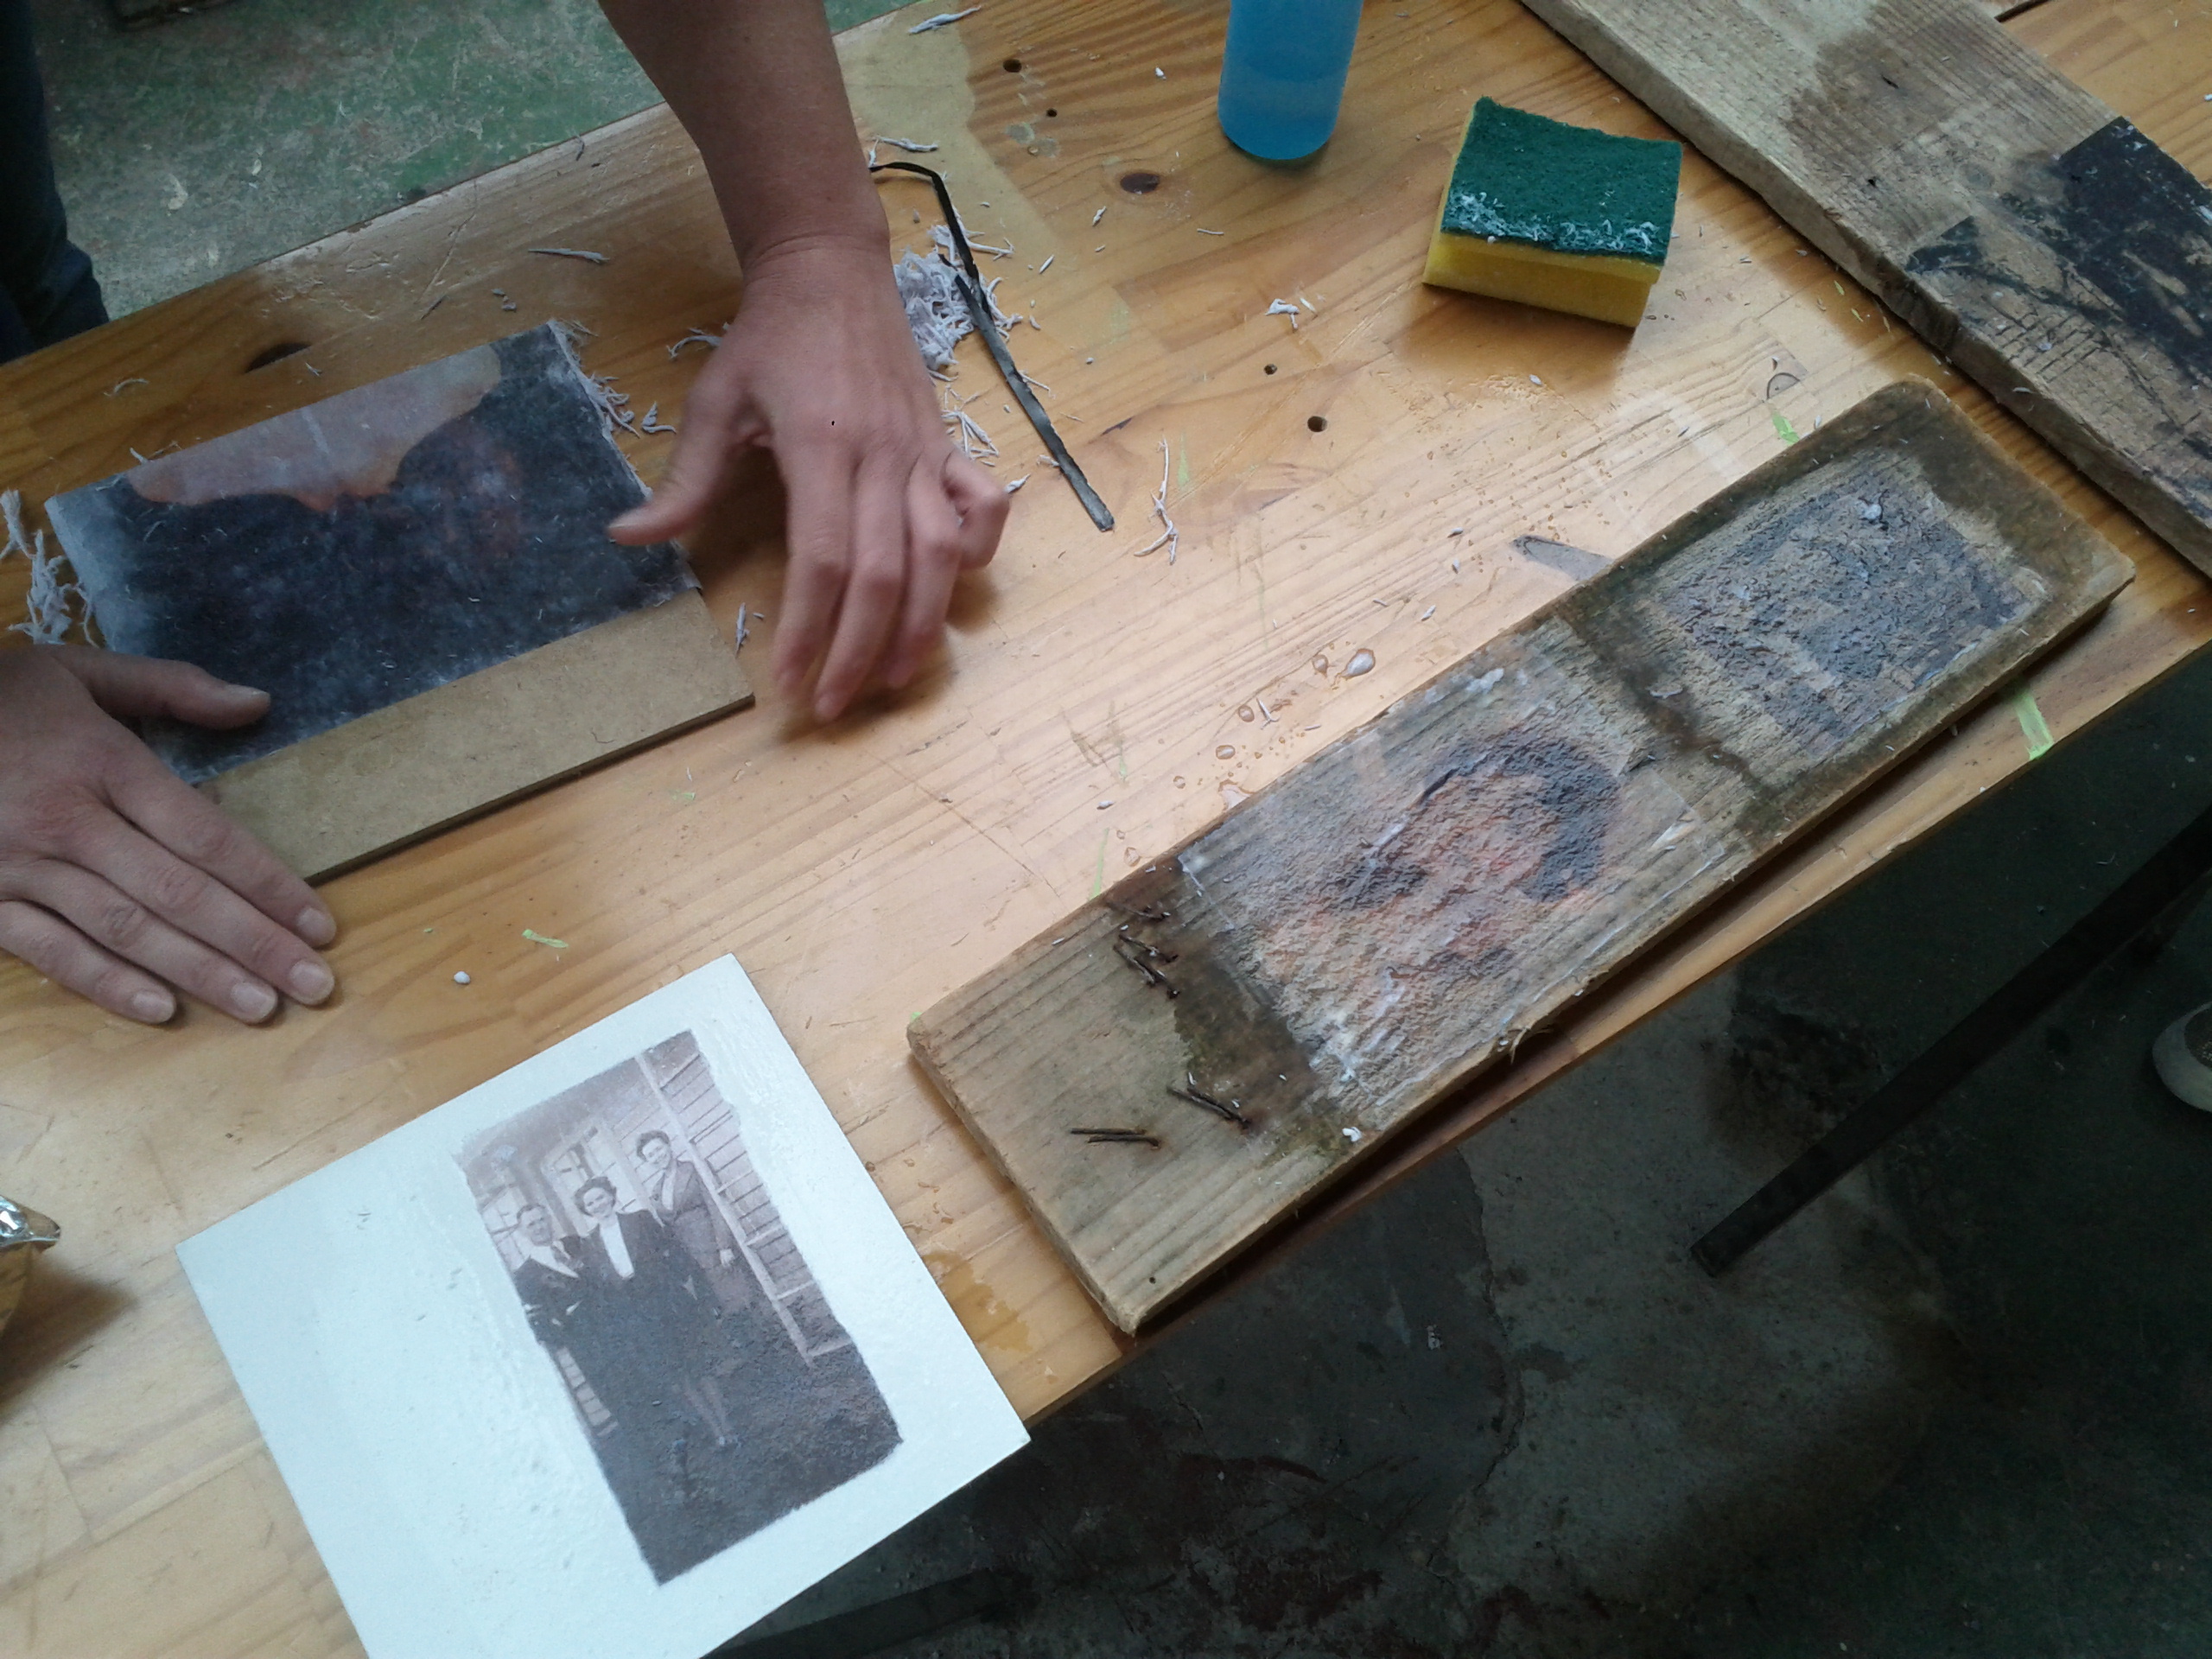
My process began with “posterizing” a black and white version of the photo to make 6 film positives and photostencils:

Creating thresholds in Photoshop.

Setting up an Illustrator file with six layers allowed me to test out various colour combinations and plan my sequence of inks:

Digital print plan

Then I started mixing various blues:

Mixing blues with transparent medium.

The first colour: a very transparent blue gradient.

Second colour: silver.

Third colour: a powder blue.

Fourth colour: copper mixed with gloss medium.

Fifth colour: blue.

Sixth colour: dark blue.

The final print:

“…Nicaragüita” © Bill Horne 2020

The title, “…Nicaragüita” is named after the song by the brothers Carlos Mejía Godoy and Luis Enrique Mejía Godoy, “Nicaragua, Nicaragüita” – a love song to a country freed from tyranny.

Total print edition: 44 + 4 Artist’s Proofs. Dimensions: 6″ × 12″ (15.5 cm × 31 cm)

Again the order form is here.
(First come, first served 😉

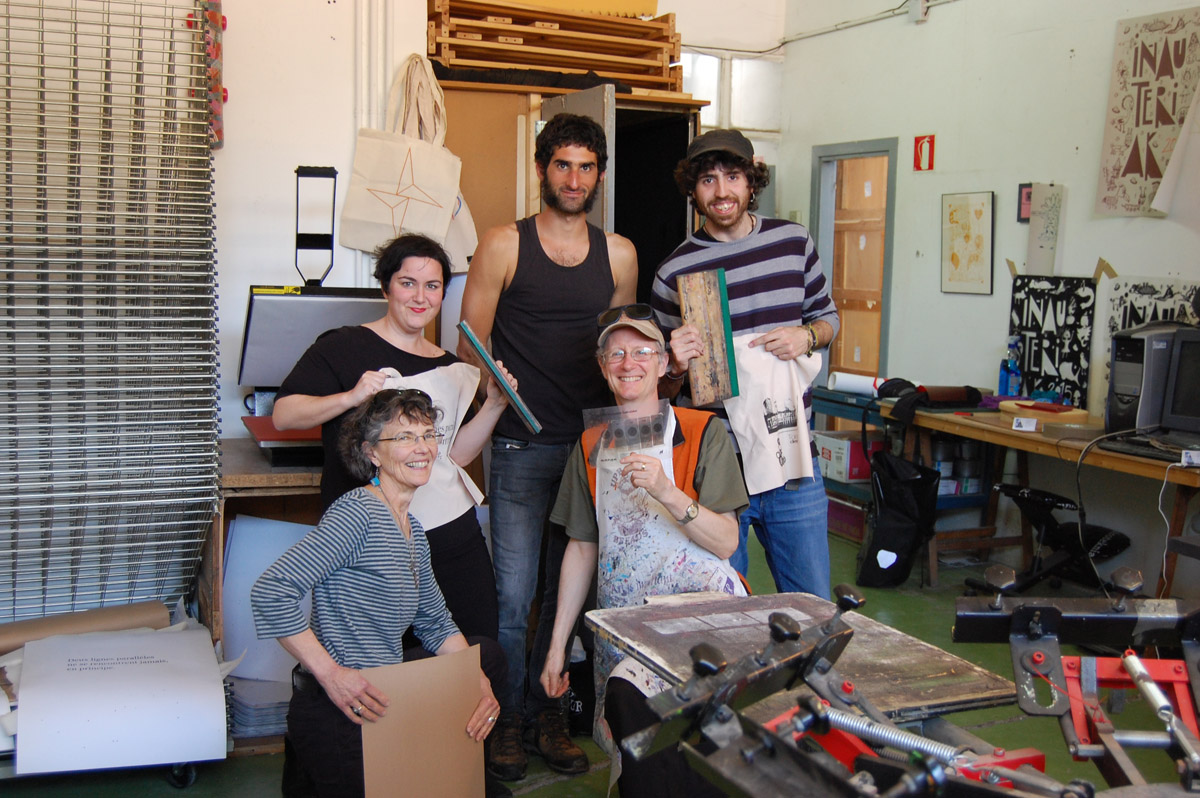
I had a lot of fun printing these and want to thank Claire Kujundzic, Liliana Cisneros, Jacques Lemieux and Sophia Isajiw for their assistance and encouragement!

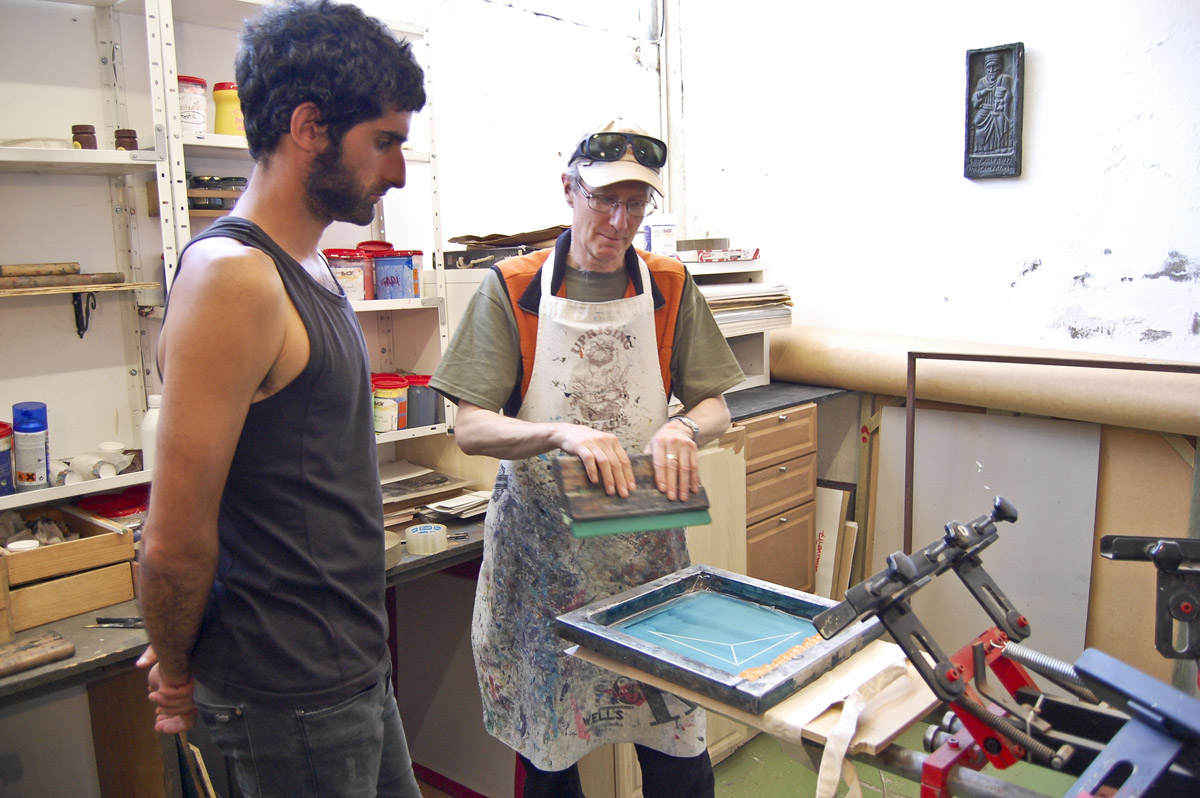
For those interested in the screen printing process, here’s a rough video recap.

#SOSNicaragua   #2añosinjusticia   #prohibidolvidar


A Sunlight Photostencil workshop

In addition to our exhibition at GKo Gallery, Claire and I offered to present two low-tech printmaking workshops while we were in Tolosa. Since I shoot almost all of my silkscreen photostencils in sunlight in Wells (sometimes overcast, often with snow around!) instead of using an expensive, electric-powered exposure unit, it made sense to share what I’ve learned about this process over the years. The best place to do this was at the studios at BoxA Arte Elkarte where Garikoitz and others do screen printing and mural project preparations, as well as other activities. He put together this nice poster in Euskara and Castellano for the workshop:

pantallas-solBoxA is about a 15 minute walk from GKo and located in an old warehouse. It’s operated by a collective – the Association of Young Creators of Tolosa – and has a performance space and bar on the ground floor, as well as a patio and an area that the collective has gradually been developing as a garden. There are always people working in and around the building, and lots of workshops, events and jam sessions; energy radiates from within and without.

Xabier-mural191749

Collective member Xabier Xtrm & assistant working on a mural near BoxA.

Earlier I had attended an excellent workshop at BoxA on photo transfers that Joseba Mercader, a local photographer and collective member led, and met more artists who became good friends during our stay in Tolosa.

joseba-claire1

Joseba & Claire with one of his whales made from driftwood.

IMG_20150411_173944

Adhering colour laser images to boards, then soaking & rubbing away the paper backing.

I wasn’t familiar with the extremely sensitive photoemulsion they used for screen printing at BoxA, and the sun was much more intense than in Wells at this time of year, so our first test screen was completely overexposed! Oops.

The second attempt worked well enough and from then on, everyone succeeded in making a stencil they could print. What a fine crew of people! I’m grateful to Garikoitz for having organized this, to BoxA for hosting, Claire for assisting, and of course to Izaskun, Jorge and Nader for their participation.

BOXA-exposure2

Our first exposure test in the courtyard below; Garikoitz C. Murua Fierro photo.

BoxA-exposure-chart2996

My 5-in-1 exposure calculator with a chart I developed for tracking exposures according to date, time of day, season, weather and results.

Nader-printing2988

Bill & Nader discuss how to print his design on a canvas bag and align a second print to the first; Garikoitz C. Murua Fierro photo.

Izaskun_2995

Izaskun inspects her prints on canvas bags and on paper; Garikoitz C. Murua Fierro photo.

drying-rack2992

Jorge’s bag design drying; Garikoitz C. Murua Fierro photo.

rubylith165616

pI demonstrated the use of cutting rubylith for making film positives; these are the days of the week in Euskara, with a new variation on GKo Gallery’s logo.

BoxA-sunlight-crew_3002

Claire & I with Izaskun, Nader & Jorge in the BoxA studio; Garikoitz C. Murua Fierro photo.


Silkscreening on lasercut surfaces

Several weeks ago when Claire and I stopped by Two Rivers Gallery in Prince George, BC to deliver my work for their North exhibition, Carolyn Holmes kindly told me an introductory workshop to laser cutting was taking place in their makerLab that evening. We decided to stay overnight, and Kathleen Angelski, the makerLab Coordinator, led an excellent two hour session.

Later, on one of our return trips to Prince George during the Canada Winter Games, Kathleen helped me laser cut a pine beetle pattern and a cedar bark pattern on matte board and on yellow cedar blocks. My plan was to take them home to try silkscreening the remaining surfaces with water based inks.

IMG_20150220_141526

Kathleen monitors the laser cutter while it engraves a bark pattern in yellow cedar.

Kathleen monitors the laser cutter while it engraves a bark pattern in yellow cedar.

Yellow cedar block inside the laser cutter, half way through its engraving.

To be efficient, I planned to “gang”  all my film positives for the two different prints onto two medium-sized silkscreens. In case I misprinted my laser cut matte board and yellow cedar blocks, and to take advantage of setting up to print 11 colours, I decided to extend my editions by printing some on paper.

Since the paper was unengraved by the laser cutter, I needed to hand cut some red ruby masking film (aka Rubylith) to make a stencil to print solid background colours for the paper prints. I wouldn’t print a solid rectangle on the engraved materials, as it might puddle in the grooves. Instead, I made a stencil of the exact reverse of the engraved areas with a 2 pixel stroke to accommodate for registration slop. This would be a tight job!

Film positives with rubylith.

Film positives with rubylith.

Then I cut my paper to size and taped register tabs to each sheet:

Taping paper prints with register tabs; sample film positive indicates approximate print location.

Taping paper prints with register tabs; sample film positive indicates approximate print location.

All paper prints now taped with register tabs.

All paper prints now taped with register tabs.

Because I had ganged six and five stencils respectively on two screens, I blocked the non-printing areas with wax paper; when I finished printing a stencil, I coated it with photoemulsion and re-exposed it in sunlight to make a water-resistant blockout.

Wax paper blocks out other stencils ganged onto screen.

Wax paper blocks out other stencils ganged onto screen.

Printing warm gradients for the cedar bark prints on paper.

Printing warm gradients for the cedar bark prints on paper.

Warm gradient in register.

Warm gradient print in register.

The warm gradients printed and drying.

To print on the yellow cedar blocks, I had to elevate the screen and re-register using scraps of the same material.

Wooden bar inserted in to elevate screen to same level as the yellow cedar blocks.

Wooden bar inserted in to elevate screen to same level as the yellow cedar blocks.

Yellow cedar block in register, freshly printed with another colour.

Yellow cedar block in register, freshly printed with another colour.

Closeup of yellow cedar; one more colour to print.

Closeup of yellow cedar; one more colour to print.

Using a 4 station rotary t-shirt press made it easy to shift the screen out of the way to see more closely when adjusting the alignment of my blocks, matte board and paper below the freshly printed registration mylar, and accurately set my registration systems. I remain very grateful to my brother-in-law, Ian Crawford, who found this used press for me at a Victoria garage sale!

One more colour to print; paper, matte & wood blocks drying on rack.

One more colour to print; paper, matte & wood blocks drying on rack.

I’m intrigued by the results and starting to think of other ways to combine silkscreen printing and laser cutting, e.g. with pine panels and Douglas Fir blocks.