Several weeks ago when Claire and I stopped by Two Rivers Gallery in Prince George, BC to deliver my work for their North exhibition, Carolyn Holmes kindly told me an introductory workshop to laser cutting was taking place in their makerLab that evening. We decided to stay overnight, and Kathleen Angelski, the makerLab Coordinator, led an excellent two hour session.
Later, on one of our return trips to Prince George during the Canada Winter Games, Kathleen helped me laser cut a pine beetle pattern and a cedar bark pattern on matte board and on yellow cedar blocks. My plan was to take them home to try silkscreening the remaining surfaces with water based inks.

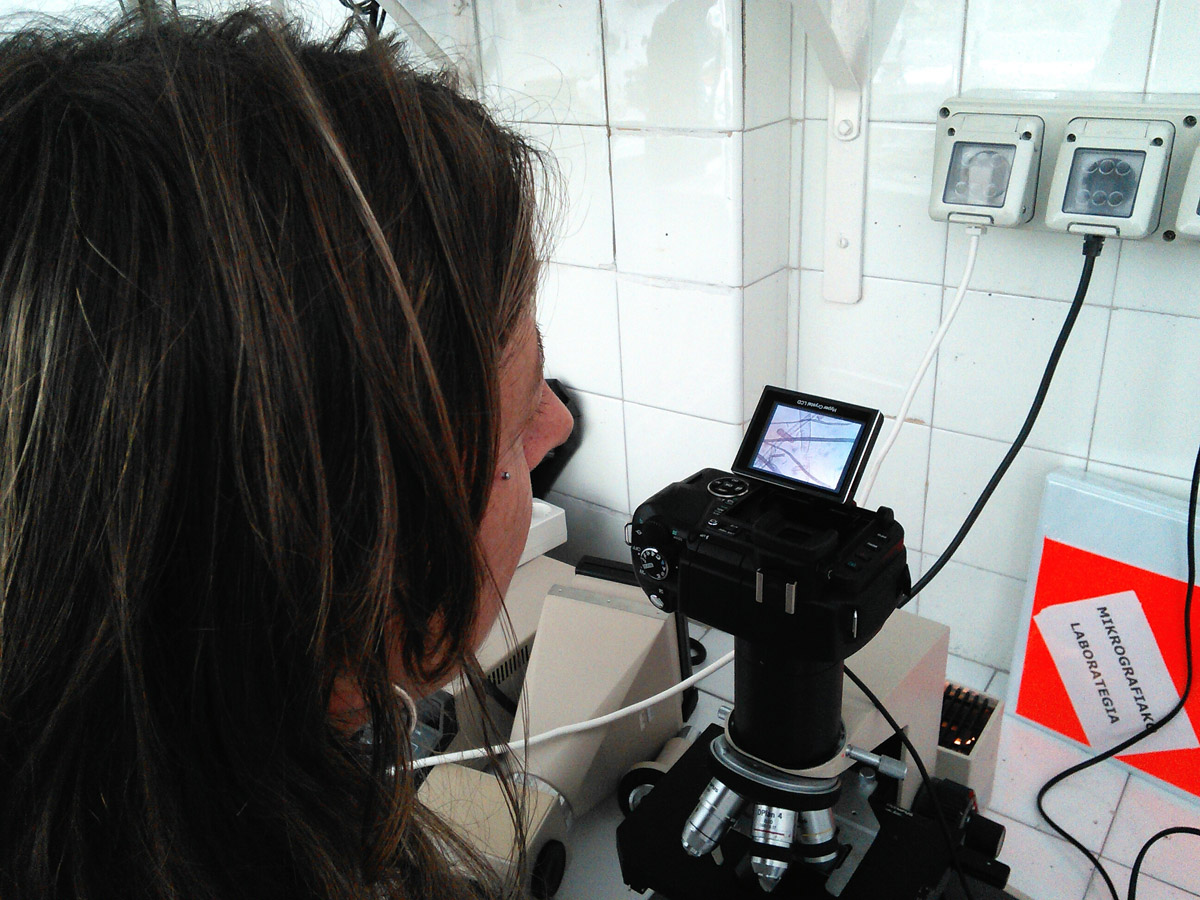
Kathleen monitors the laser cutter while it engraves a bark pattern in yellow cedar.

Yellow cedar block inside the laser cutter, half way through its engraving.
To be efficient, I planned to “gang” all my film positives for the two different prints onto two medium-sized silkscreens. In case I misprinted my laser cut matte board and yellow cedar blocks, and to take advantage of setting up to print 11 colours, I decided to extend my editions by printing some on paper.
Since the paper was unengraved by the laser cutter, I needed to hand cut some red ruby masking film (aka Rubylith) to make a stencil to print solid background colours for the paper prints. I wouldn’t print a solid rectangle on the engraved materials, as it might puddle in the grooves. Instead, I made a stencil of the exact reverse of the engraved areas with a 2 pixel stroke to accommodate for registration slop. This would be a tight job!

Film positives with rubylith.
Then I cut my paper to size and taped register tabs to each sheet:

Taping paper prints with register tabs; sample film positive indicates approximate print location.

All paper prints now taped with register tabs.
Because I had ganged six and five stencils respectively on two screens, I blocked the non-printing areas with wax paper; when I finished printing a stencil, I coated it with photoemulsion and re-exposed it in sunlight to make a water-resistant blockout.

Wax paper blocks out other stencils ganged onto screen.

Printing warm gradients for the cedar bark prints on paper.

Warm gradient print in register.

The warm gradients printed and drying.
To print on the yellow cedar blocks, I had to elevate the screen and re-register using scraps of the same material.

Wooden bar inserted in to elevate screen to same level as the yellow cedar blocks.

Yellow cedar block in register, freshly printed with another colour.

Closeup of yellow cedar; one more colour to print.
Using a 4 station rotary t-shirt press made it easy to shift the screen out of the way to see more closely when adjusting the alignment of my blocks, matte board and paper below the freshly printed registration mylar, and accurately set my registration systems. I remain very grateful to my brother-in-law, Ian Crawford, who found this used press for me at a Victoria garage sale!

One more colour to print; paper, matte & wood blocks drying on rack.
I’m intrigued by the results and starting to think of other ways to combine silkscreen printing and laser cutting, e.g. with pine panels and Douglas Fir blocks.