Once in a while a shuffling music playlist will randomly select just the right song for that particular time and place. While driving north yesterday from Williams Lake on the Old Soda Creek Road towards the Rudy Johnson Bridge across the Fraser River, I entered one of the intense burn zones from the summer’s extensive fires just as Sarah McLachlan started singing, “Into the Fire“. (without the video!)
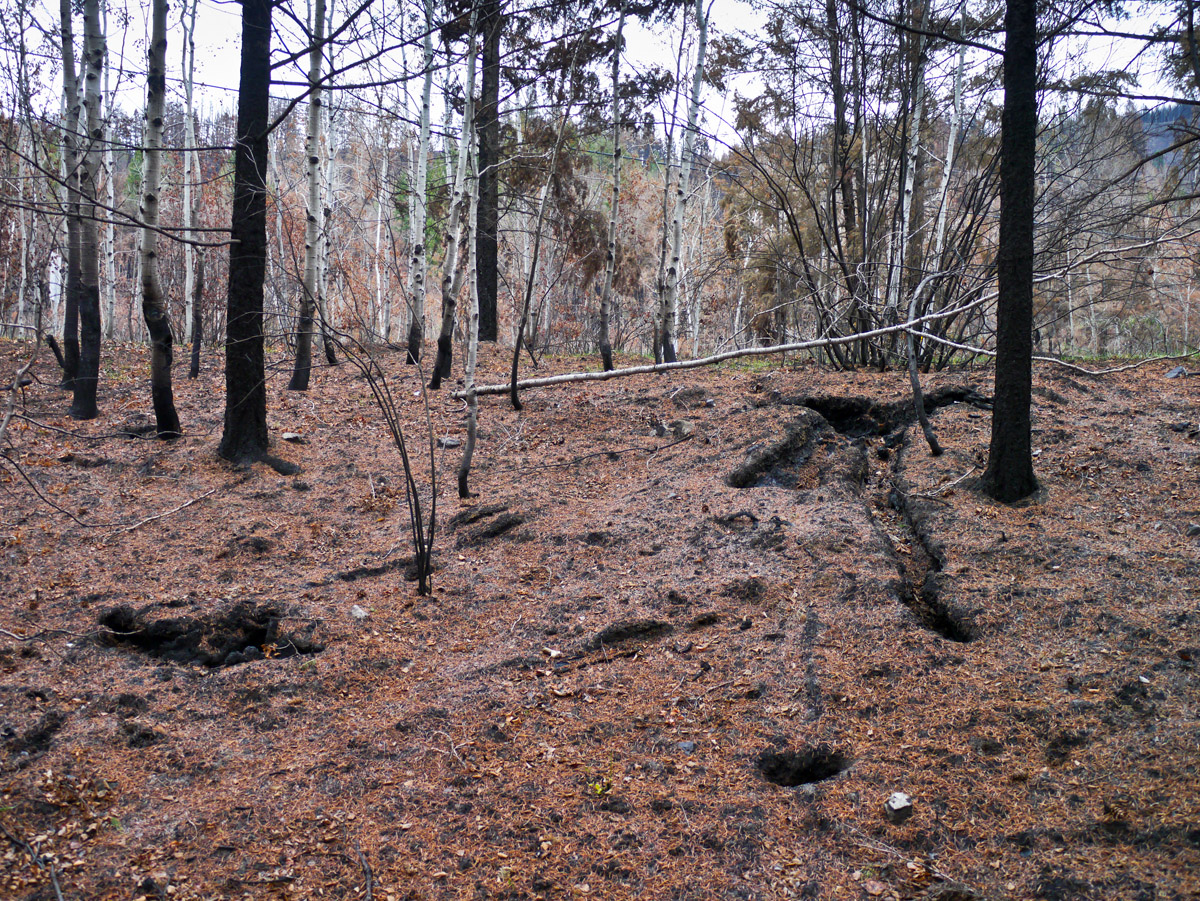
Burnt trees and roots near Soda Creek, BC.

Burned out tree roots near Soda Creek, BC.
I encountered many stark, poignant and haunting views. Some charred, vaporized tree roots looked like dinosaur footprints left as they fled a shield volcano millions of years ago. If I was Harold Rhenisch, I might write a poem!
-
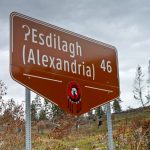
- Sign for ʔElegesi (Alexandria in Tŝilhqot’in) by the road above the Rudy Johnson Bridge across the Fraser River.
-

- Burnt hills near Soda Creek, BC.
-

- The Rudy Johnson Bridge across the Fraser River near Soda Creek, BC.
-

- View from the Rudy Johnson Bridge across the Fraser River.
When I reached Mackin Creek Farm on the west side of the Fraser, north of the bridge, Cathie Allen was hard at work gathering the last of their cabbages, broccoli and cauliflowers before a heavy frost was to arrive that night. After many years of enjoying the wonderful vegetables she and Rob Borsato produce, I was glad to finally visit this beautiful place. And buy some food for the winter!
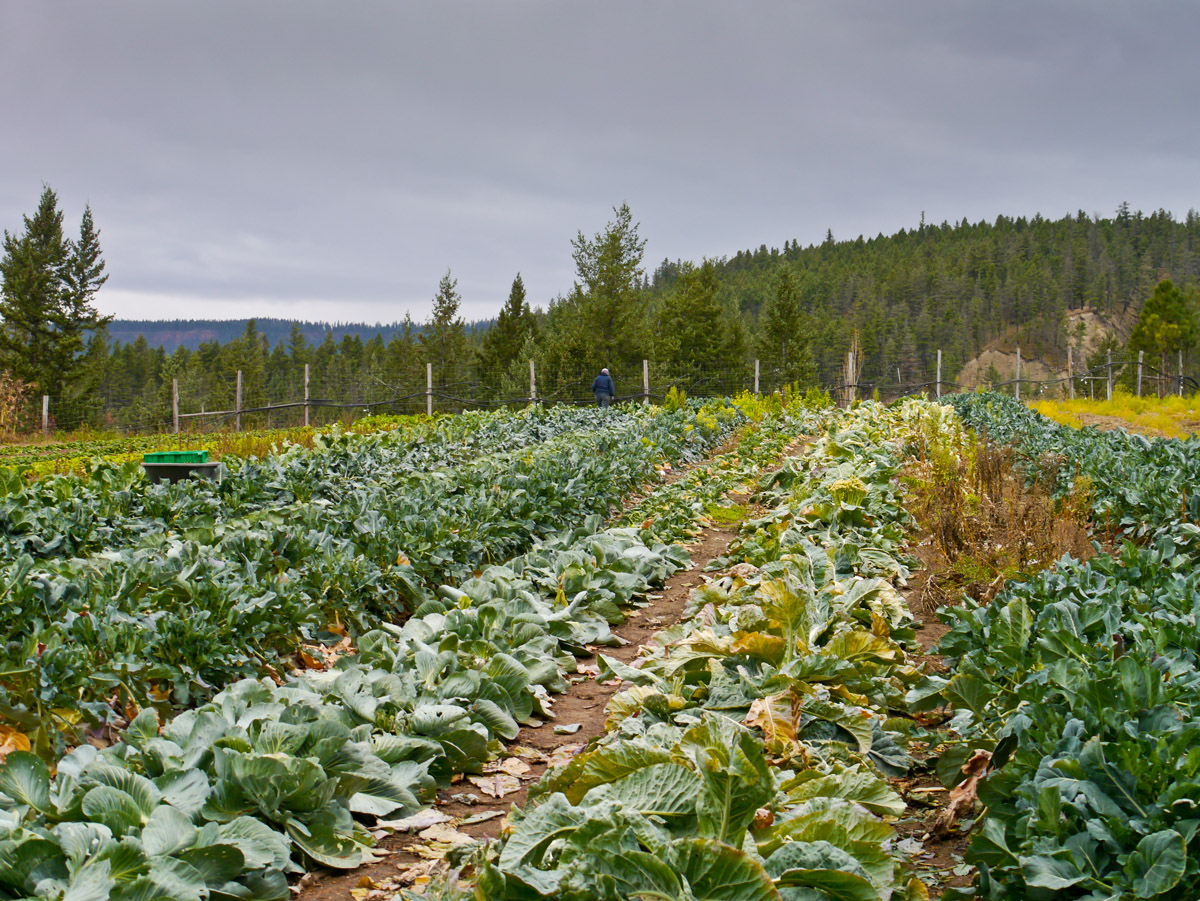
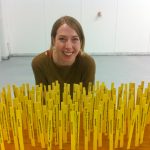
Cathie Allen works another row before frost sets in at Mackin Creek Farm.
-

- A few pigs at Mackin Creek Farm.
-

- Pig at Mackin Creek Farm.
For those who live outside the Cariboo-Chilcotin region of BC, here are some maps:
-
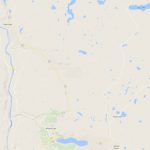
- The red circle indicates Mackin Creek Farm, northwest of Williams Lake, on the west side of the Fraser River.
-

- Mackin Creek Farm circled in red; a little closer.
-

- Mackin Creek Farm circled in red; situated on a beautiful bench above the Fraser River.
-
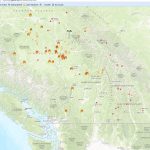
- Screen shot of some of the fires on the government’s map; mid-July, 2017
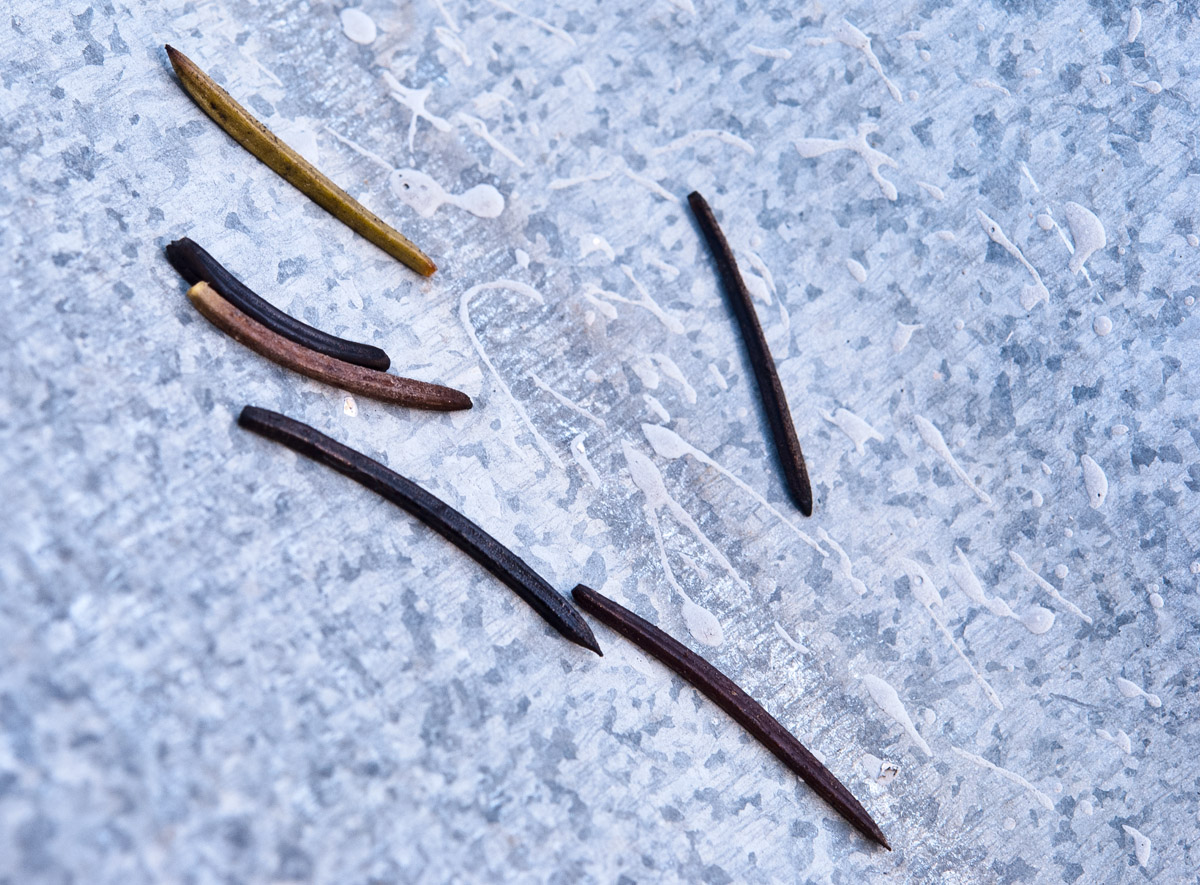
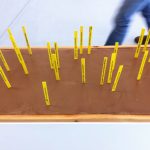
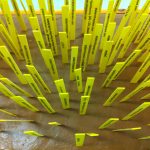
Here are some of the burnt needles that fell on our metal roofing in the summer. I wonder if some came from the Soda Creek area?

For some very powerful images from the summer’s fires, see some of the recent newsletters by photographer Chris Harris and the Facebook photo albums of Jesaja Class.


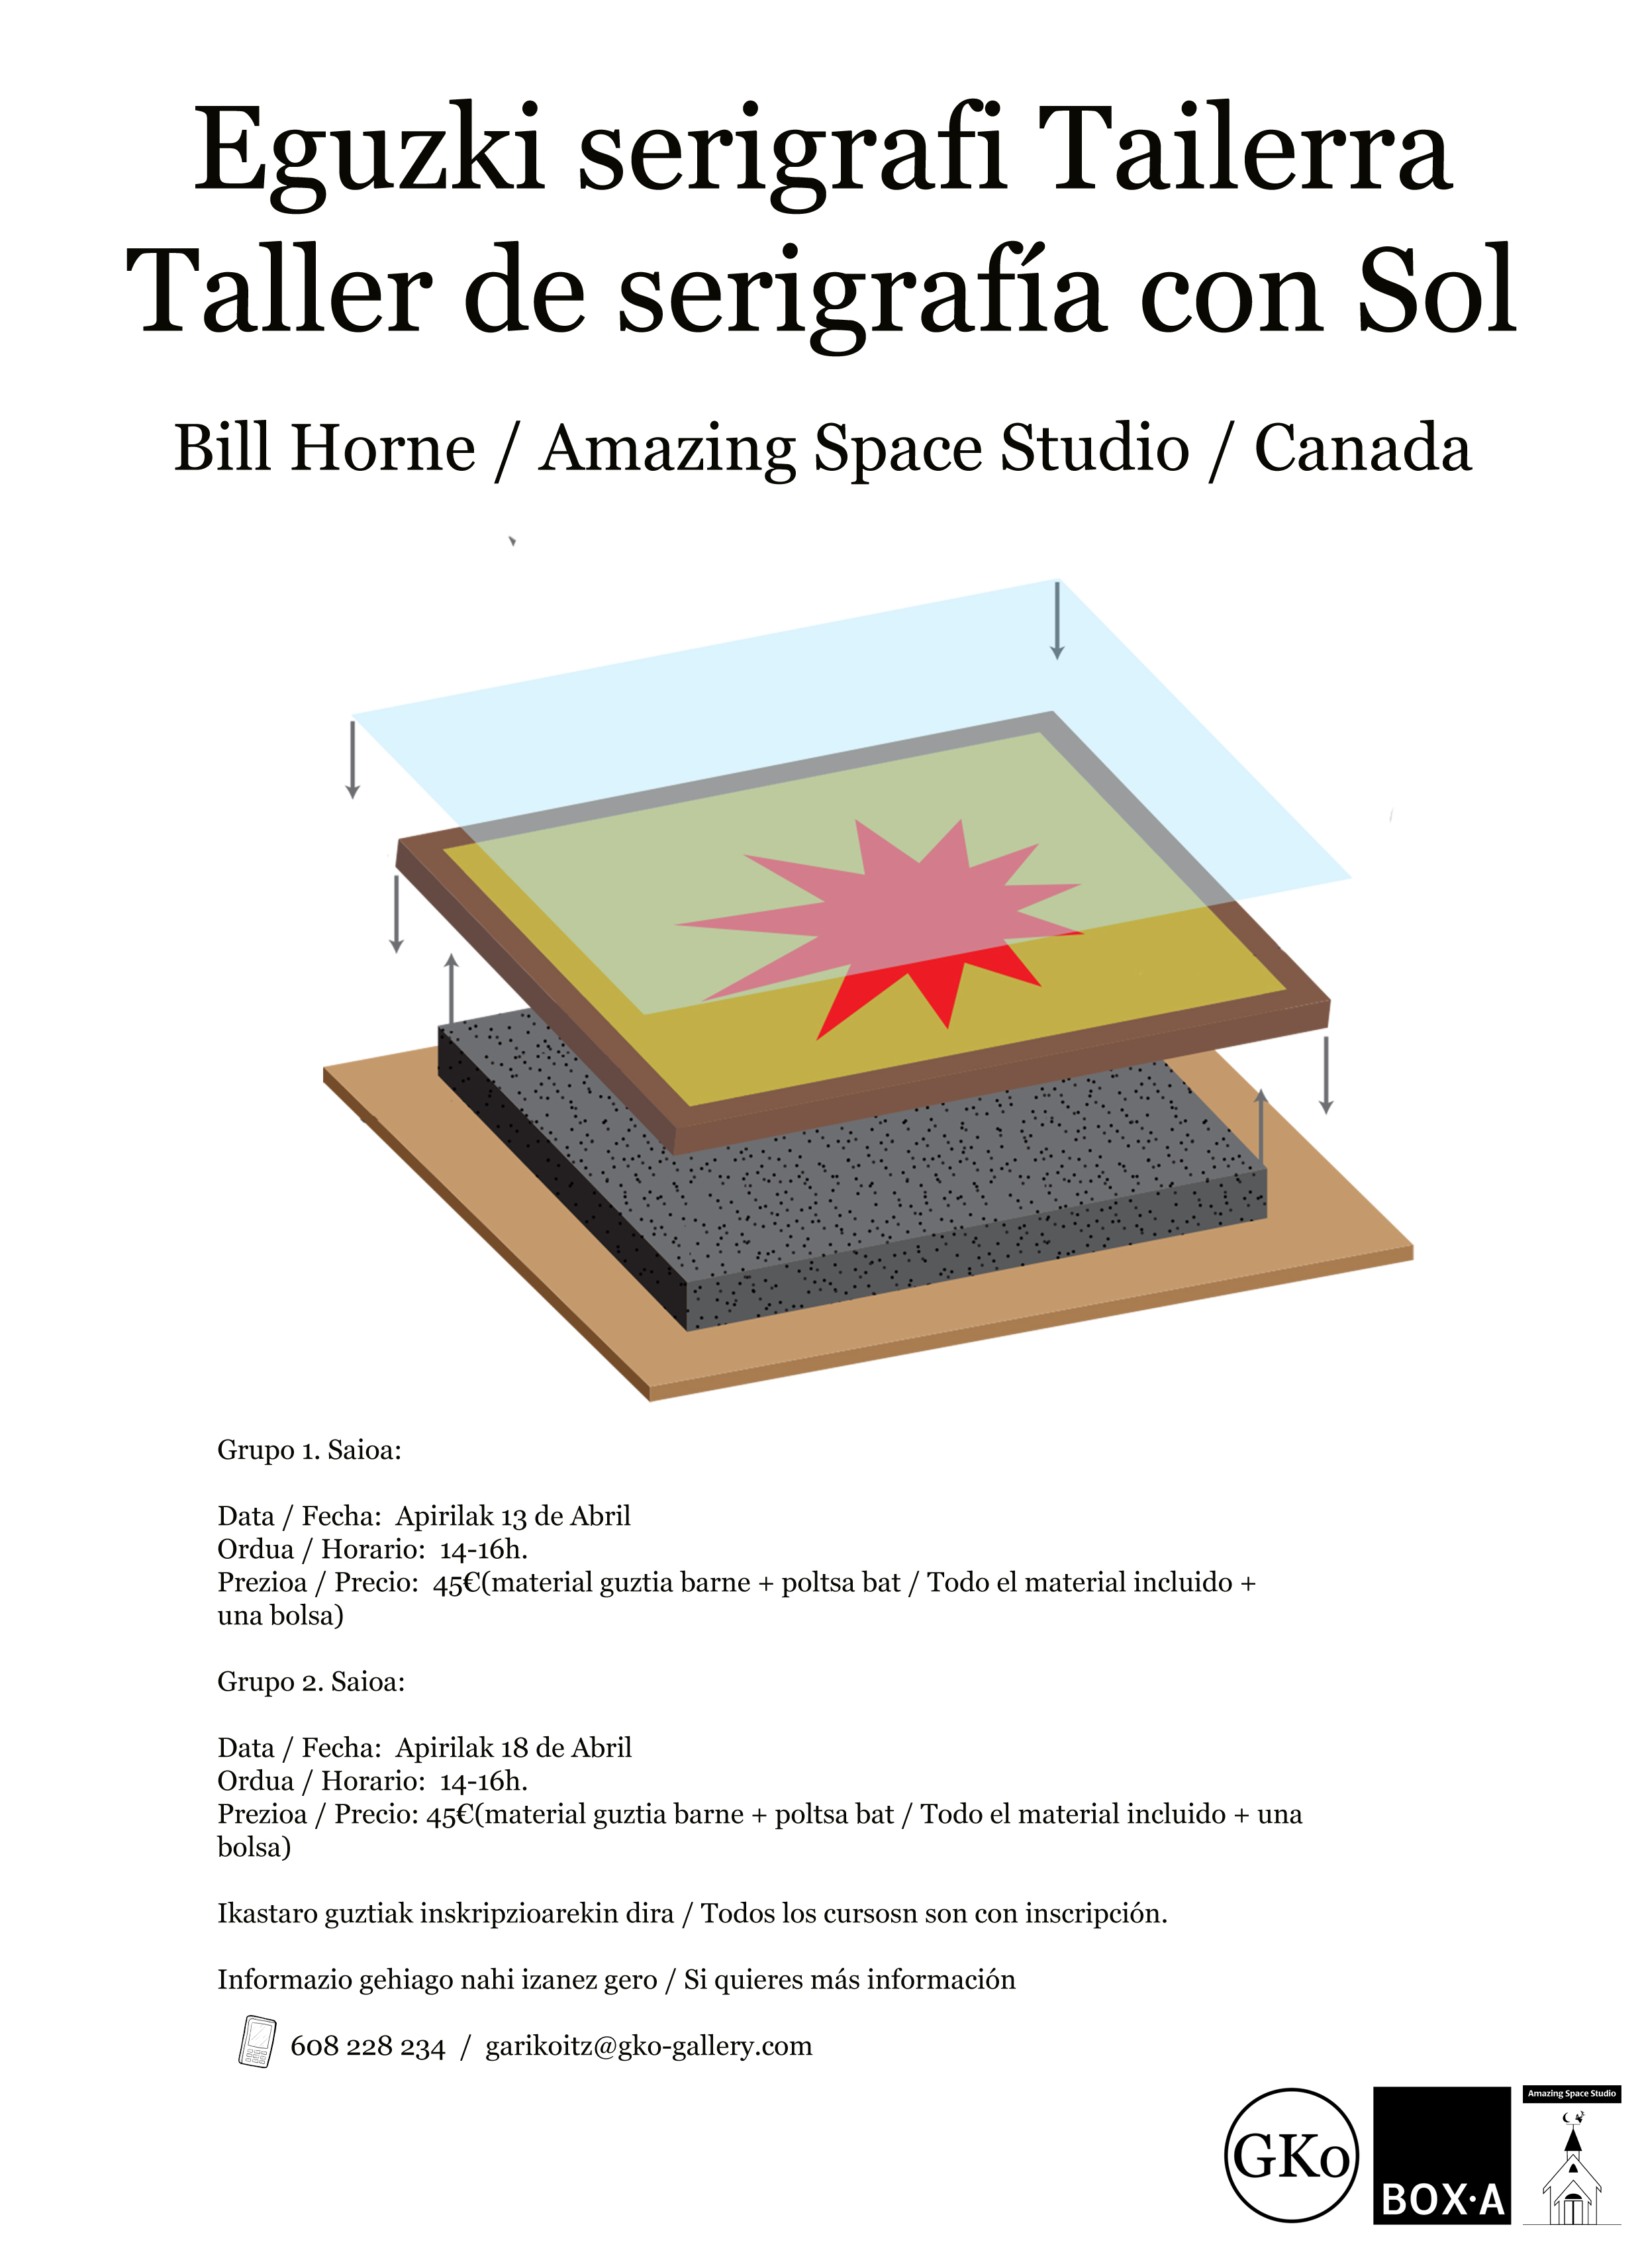 BoxA is about a 15 minute walk from GKo and located in an old warehouse. It’s operated by a collective – the Association of Young Creators of Tolosa – and has a performance space and bar on the ground floor, as well as a patio and an area that the collective has gradually been developing as a garden. There are always people working in and around the building, and lots of workshops, events and jam sessions; energy radiates from within and without.